Every artist has a defining moment that sparks the beginning of a new journey. For WYRAINE, that moment came during their first year of college, when they were tasked with designing a deck of playing cards from scratch. This project not only exposed them to the world of card design but also planted the seeds for what would become Celestial Forms, the first deck in a new series of original playing cards.
Introducing Celestial Forms Playing Cards
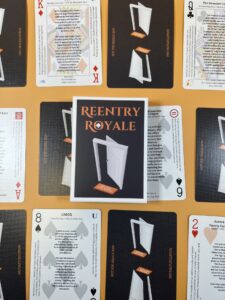
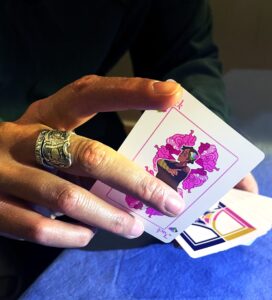
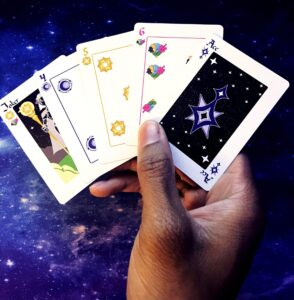
Celestial Forms is the first deck of cards in a series designed by artist WYRAINE, featuring original illustrations for every suit, ace, joker, and court card. This deck is a reimagined version of a college project where WYRAINE was tasked with creating an entire deck of cards from scratch. It marks the beginning of a new series of unique playing cards that WYRAINE plans to develop in the future.
Inspiration for Celestial Forms
Inspired by a love for cards—whether playing cards, tarot, or collectible cards—WYRAINE was driven by the idea that cards are more than just functional objects. They are also pieces of art. This perspective heavily influenced the design process, along with the guidance of WYRAINE’s professor Doug, who played a pivotal role in shaping their approach to card design.
The design process for Celestial Forms involved traditional ink sketches, which were then digitized and refined using Clip Studio Paint. The combination of these traditional and digital techniques helped bring the deck’s intricate illustrations to life.
For WYRAINE, one of the most exciting parts of this project has been sharing the deck with others. They’ve enjoyed seeing how people react to the unique designs and how the deck has sparked conversations about the intersection of art and cards. Feedback from friends, family, and early supporters has been overwhelmingly positive.
Why WYRAINE Chose Shuffled Ink
WYRAINE chose Shuffled Ink as the manufacturer for Celestial Forms after years of following the company’s growth. After seeing their exceptional reputation and the quality of their work, WYRAINE decided that Shuffled Ink would be the perfect partner for bringing their designs to life. The finished cards met all expectations and are a true testament to the high standards of Shuffled Ink’s production.
A New Beginning: WYRAINE LLC
In addition to creating Celestial Forms, WYRAINE has recently started their own LLC under the name WYRAINE, marking the transition into full-time artistry. They are open to collaborating with others and providing artistic services to those in need.
In 2025, WYRAINE plans to officially launch their career as an independent artist, with the goal of making art their full-time profession. A Kickstarter campaign is in the works for the Celestial Forms deck, and WYRAINE hopes to use this platform to further expand their reach and offer limited rewards to backers.
Connect with WYRAINE
Website
Request a quote here.
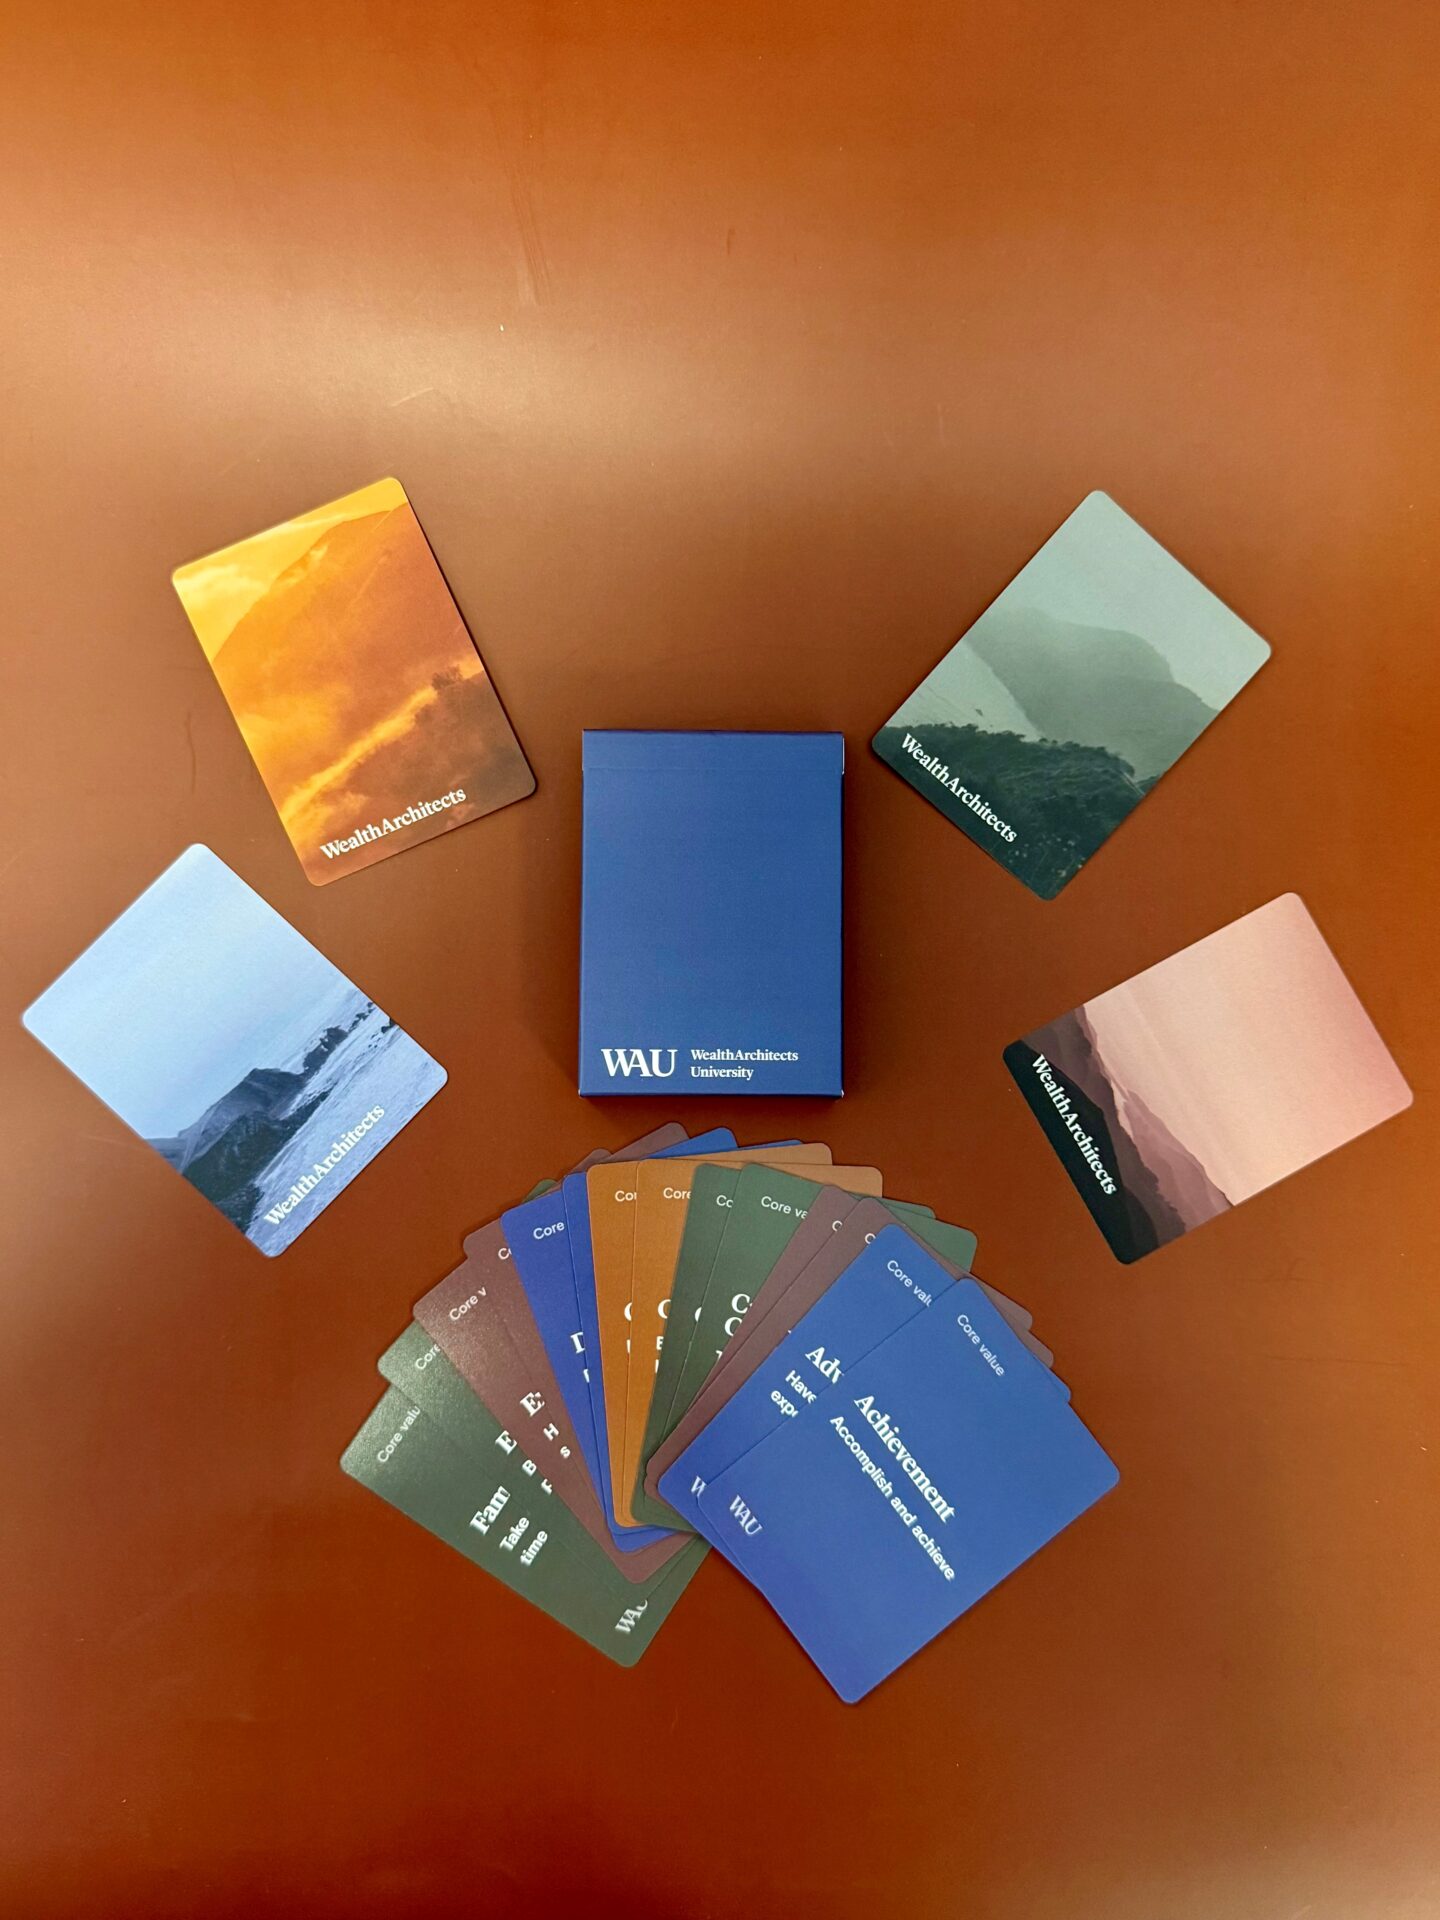 For Edition, great design is about more than aesthetics—it’s about intention. Their latest project, a striking deck of Core Values cards, is a perfect reflection of that philosophy. Created for Wealth Architects’ annual summit,